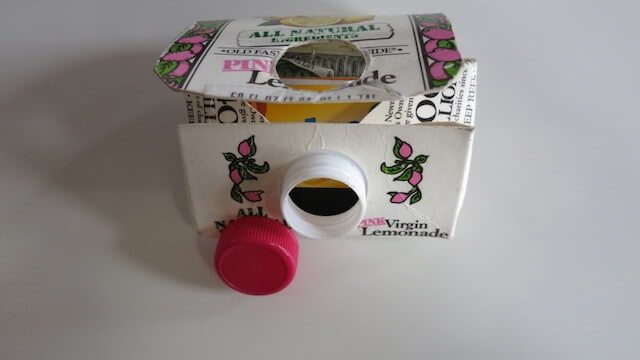
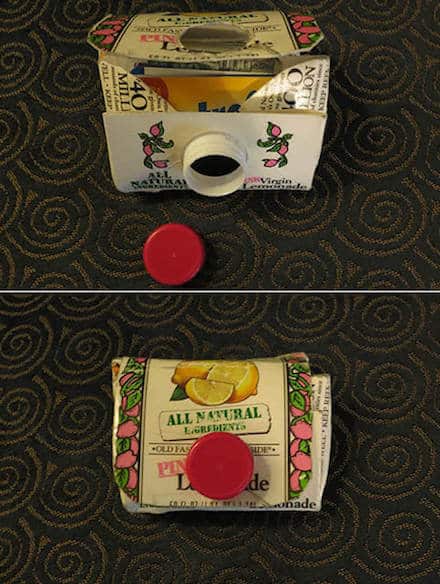
In 9th grade, my friend Finnley went to pay for a knish and I thought to myself “Why is Finnley carrying around the top of an orange juice carton,” when I realized it was her wallet. I inquired, she initiated me, and I haven’t stored my money in anything but a used juice carton since.
Carton wallets are waterproof, wildly affordable, and have personally scored me numerous babysitting gigs. Over the years they’ve averaged a six month life span for me, at which point the hole intended for the cap usually rips and makes it more difficult to secure the wallet closed. They’re great conversation starters and so creative they have potential to ward off would-be robbers fooled by your wallet’s trash appearance.
Making them is easy enough. The bare minimum supplies you’ll need are:
- A 1/2 gallon carton
- A carton wallet-making template [PDF]
- Tin shears or an otherwise heavy duty scissor (kiddie scissors will not cut it and you’ll just end up hacking your carton)
It’ll be a lot easier if you also have:
- Scotch tape
- An X-ACTO knife or snap blade
- A permanent marker
________
Step 1
Choose your carton! While I don’t personally enjoy Welch’s Tropical Cherry drink, I subject myself to it because I really dig the carton. The Newman’s Own brand has some particularly spiffy designs, although in my experience the more interesting the carton the worse the taste. For those of you who don’t drink milk, orange juice, or lemonade and don’t want to start now, there are abundant intact cartons in the trash ready for your perusing.
Step 2
Make sure your carton is empty, fill it with water and a little bit of soap, shake shake shake, shake shake shake, empty, and rip open at the top. Cut it down the back, and then cut out the bottom (you only need the front and side panels). Pat dry.
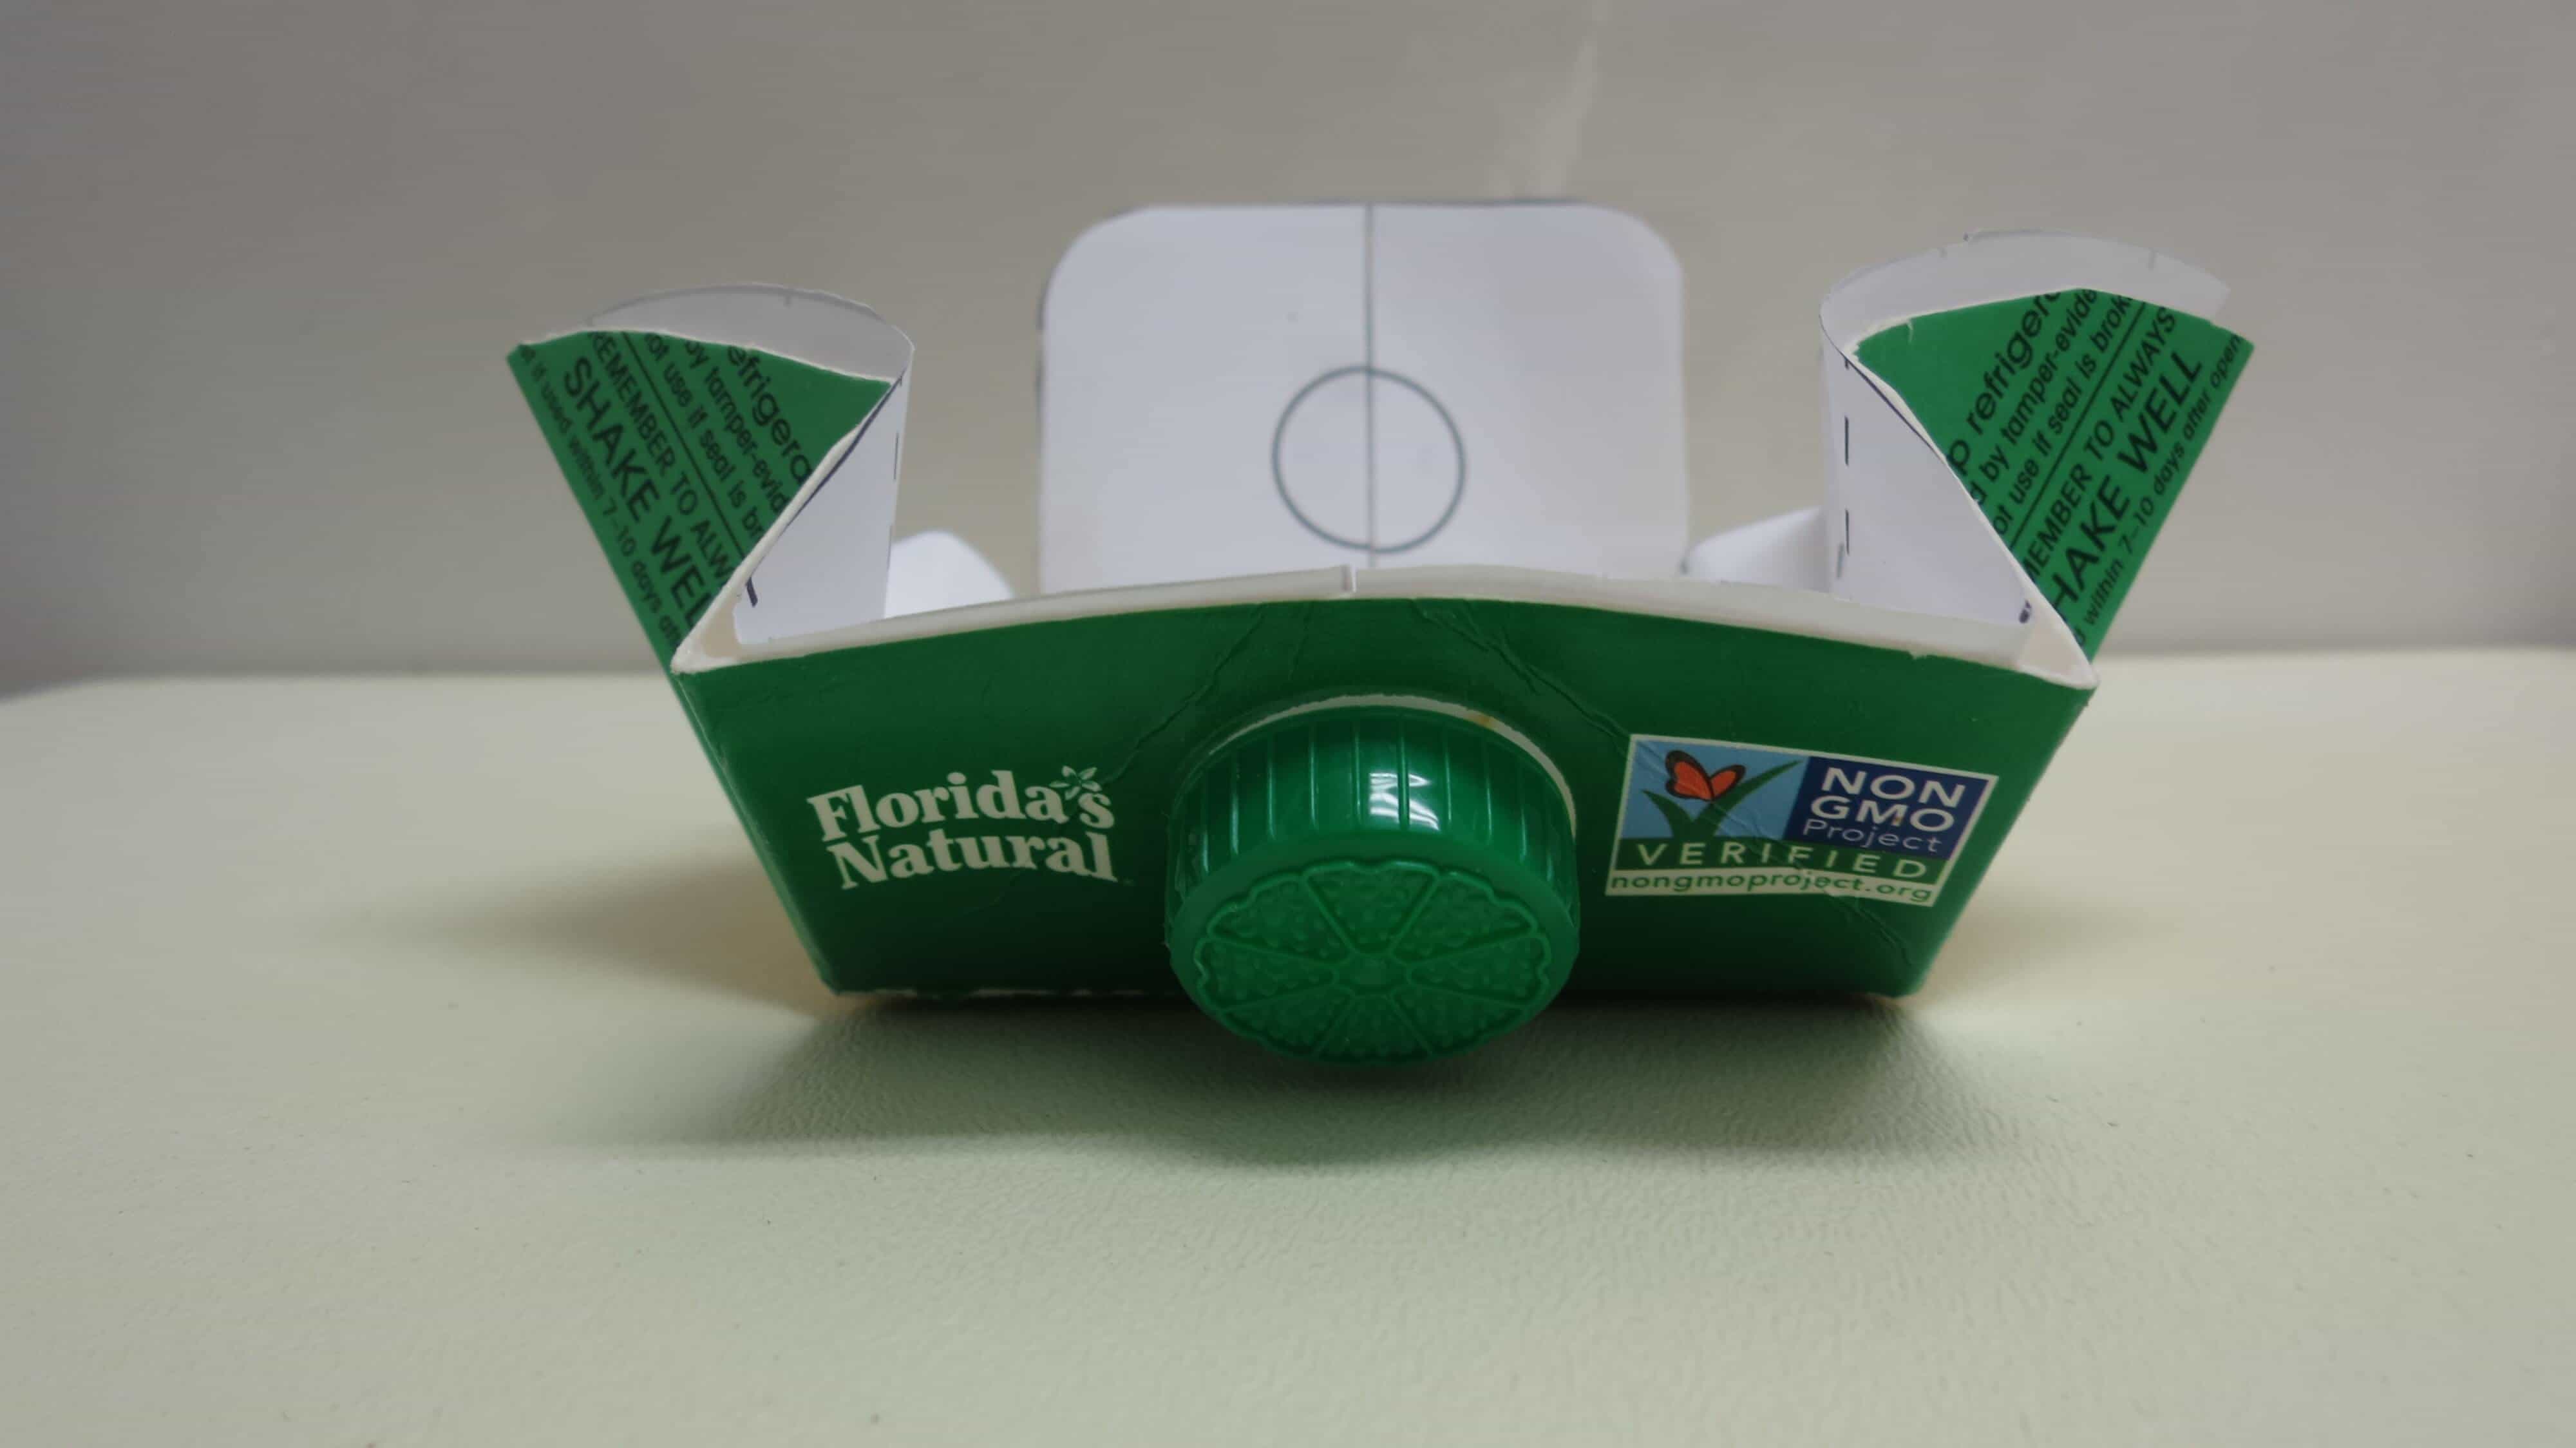
Step 3
Print your template and cut it out. Lay your carton flat. Tape the template onto your carton. This part is surprisingly easy to screw up, because it’s not intuitive which end of the template is up and which down, and if you get it wrong Mission Failed. Try this: Think of your template as a cartoon dragon fly, with the wings at the top and the tail at the bottom – now align the circle at the top of the template with the carton cap and tape it into place. Gucci.
Step 4
Cut around the template with your tin shears. Trash the resultant scraps. Cut out the top hole with your blade of choice (it’s easiest to do this through the template, removing the paper once the outline of the circle is imposed into the carton. Also, best to cut too small initially, as it’s much easier to cut more than less).
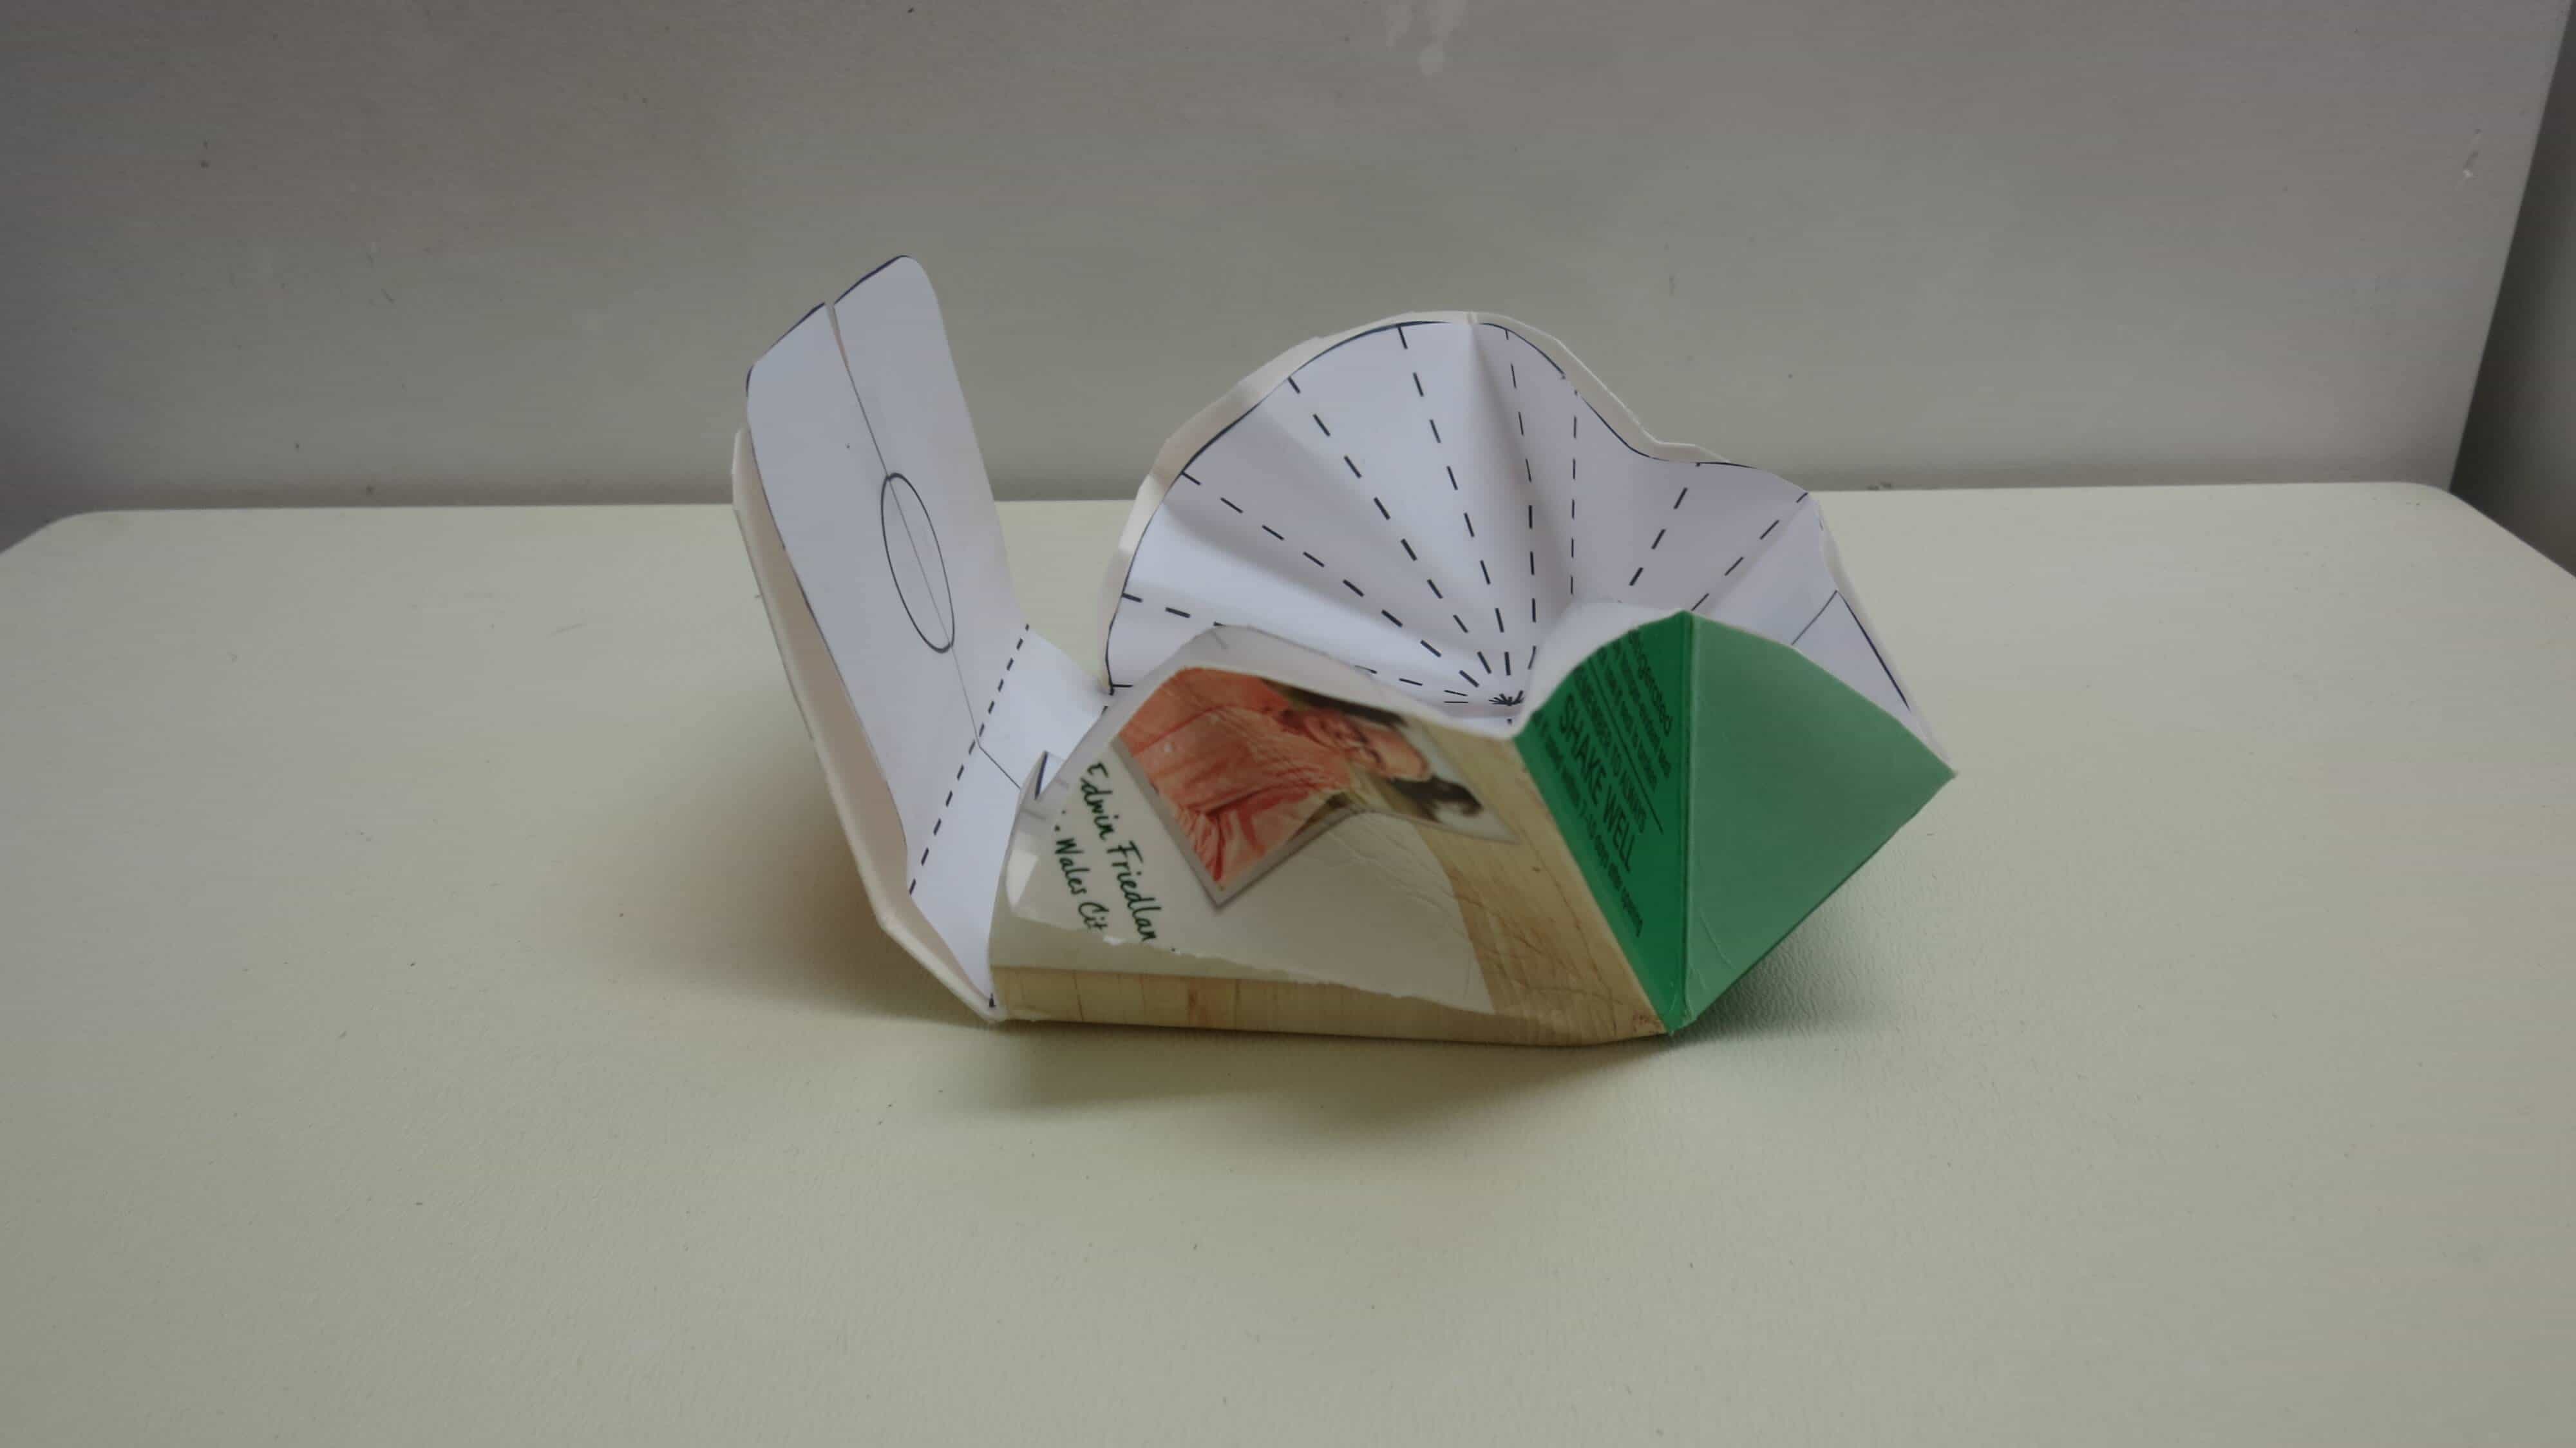
Step 5
Almost there! All that’s left is to put it together. Perforate the dotted folds by running a blade or even your finger nail bluntly over them to make them easier to crease. Then fold them back and forth until you can accordion them all together with relative ease. Fold the top part (your dragonfly’s head) over to wear the cap and the hole connect, screw ’em together and voila – a bonafide juice carton wallet.
________
Related Articles

A genius winter cocktail: Egg Shop’s Anonymous Eggnog
Eggnog is a classic holiday staple and it’s ultra easy to whip up at home.


No gym, no problem: How to use a NYC playground as a workout center
For many of us, myself included, a gym membership or yoga subscription is a luxury we simply cannot afford. During the winter […]
Leave a Reply