So you’ve got a flat tire? Brooklyn’s streets are mean and full of sharp things like glass, so it’s not your fault. If your knee-jerk reaction is panic immediately followed by frenetic smartphone searching for the nearest bike shop that’s still open at three o’clock in the morning (hint: there aren’t any), bad bicyclist! Very bad bicyclist! What kind of frugal, self-sufficient Brooklynite are you, anyway? Not only is it not not that hard to fix a flat, unless you have one of those silly, ultra-modern, ultra-high pressure tires because you’re some kind of Spandex-clad Lance Armstrong, most holes in bicycle inner tubes can be fixed with a $0.50 patch. Follow our guide and you’ll save yourself money, time, and hassle in the process.
Yep, you usually don’t need to replace the whole damn $5 tube. And you certainly don’t need to bring your bike in to a shop to let someone else do it for $10 or $15. It actually involves so little effort that you don’t even need to take the wheel off the bike.
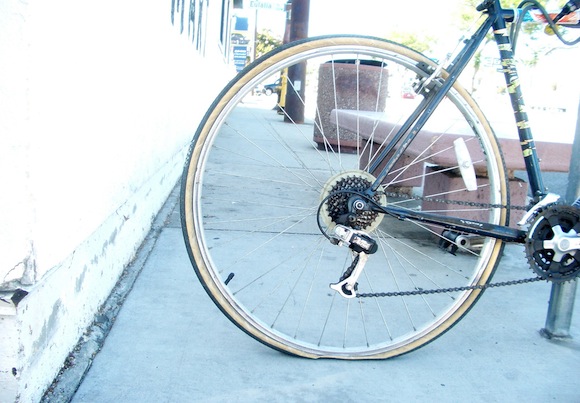
So how does one patch a hol(e)y tube? I’ll offer up my own bicycle as a sacrificial test subject and subject it to a combination corkscrew-paper clip attack!

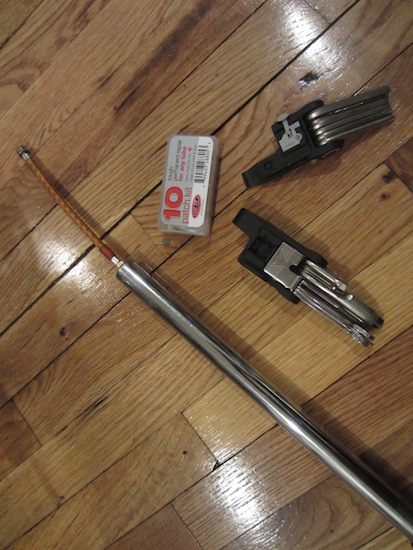
Now that I’ve dug myself into a hole/dug a hole through the tire into the inner tube, it’s time to undo the terrible thing I did. What’ll I need to undo the deed, reverse the curse, and make all well again? Turns out, not much: a pump, a patch kit (which you can get at any bike shop), and a couple of tire irons.
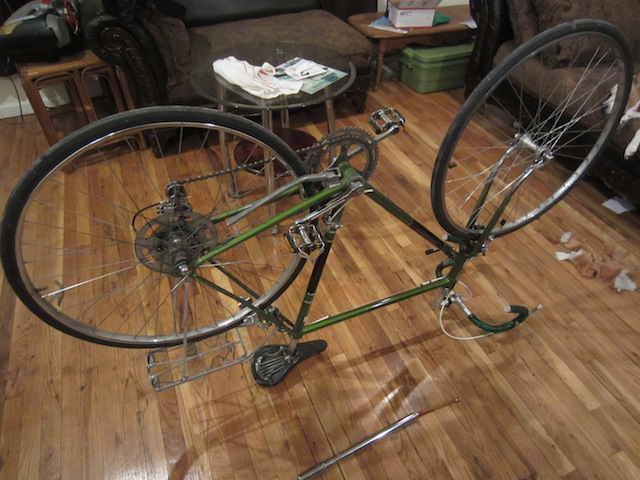
First, you’ll have to flip the bike upside down, resting it on its seat and handlebars:
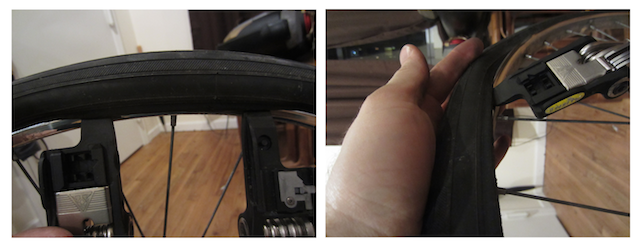
Wedge one of those tire irons between the wheel and one of the beads/edges of the tire, comme ça:
Get a second tire iron in there about six inches down the line, then move the first one down another six inches from that one, and leapfrog tire irons like that till you get the bead to come willingly out of the wheel.
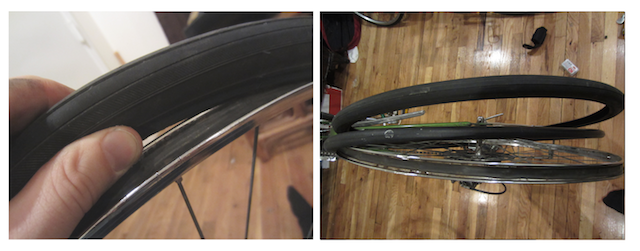
Once you get one bead out, you should be able to pull the other bead out with your bare hands. Work your way around the wheel, just as you did before, and pull the tube out of the tire so you’ve got the spinning trio—wheel, tube, and tire—separated.
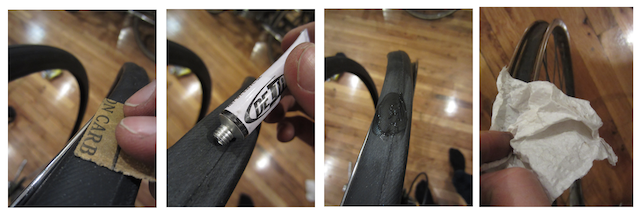
Now it’s time to find the hole! Pump the tube up till it’s plump, and listen/feel for hissing.
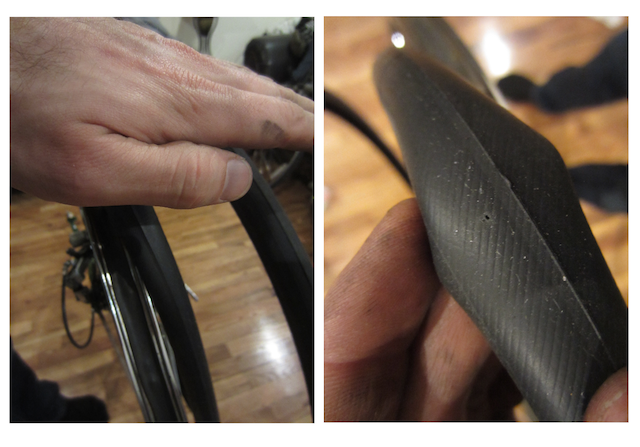
Once you find the leak, examine the part of the tire corresponding to the part of the tube where you found the hole. Look/feel around for any smoking guns, e.g. protruding shards of glass, small embedded rocks, nails, etc., and remove them so they don’t repuncture the tube you’re about to repair! For our next act, we’ve gonna bust out our patch kit. In it, you’ll find sandpaper, vulcanizing solution, and (of course) patches:
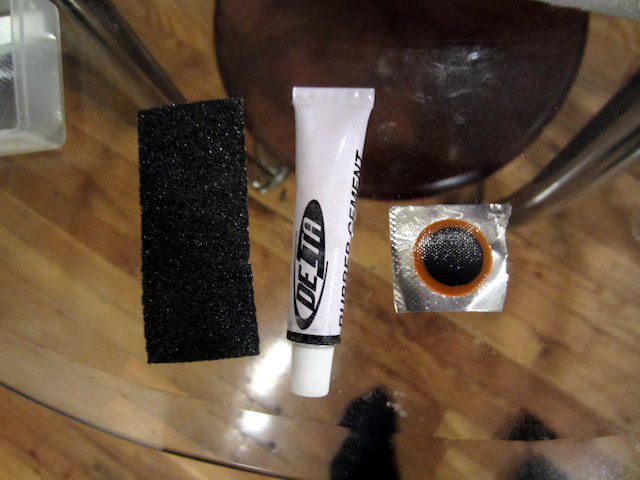
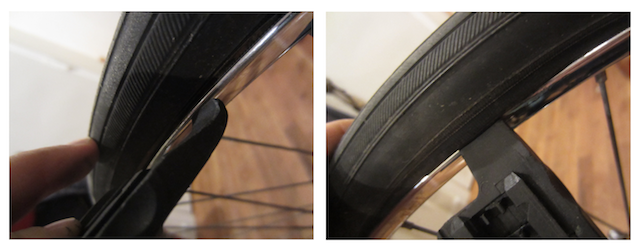
First, sand the area around the hole. The roughening increases the available surface area for the patch to stick to! Then apply the vulcanizing solution to make the tire rubber all soft and sticky. While you’re waiting for the vulcanizing solution to work its magic, you might wanna wipe down the inside of the wheel rim and tire to get any excess dirt out.
After about 5 minutes the goo will have worked its magic, so your patch will take hold. Peel the backing off of the patch, carefully stick it over the hole, rub it in e.g. with the edge of the patch kit box, and then oh-so-cautiously peel the plastic cover off of the patch. If you see part of the patch, especially the orange edge, start to come with it, scrape it off the plastic so it doesn’t take the rest of the patch with it. If you’re having a really rough time of things, you can leave that little clear plastic sheet in place: it won’t make a functional difference in keeping the air in.
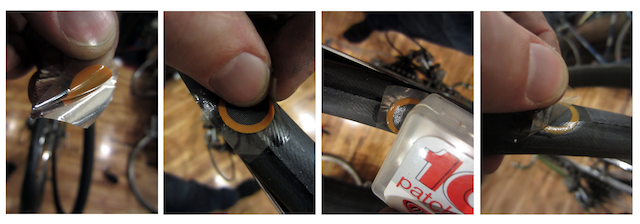
Cool, now you can put a little air in your tube—just enough to give it shape—and test out your handiwork. Align the valve stem (the part you attach the pump to) with the part of the tire that displays the recommended pressure, because it makes life more convenient when you’re pumping, and stick the valve stem through its hole in the wheel rim. Insert the tire beads into the rim, one at a time, working your way around until the first one is entirely between the two lips of the rim before starting on the second one. Start near the valve stem and work your way around the rim from there. This is basically the opposite of what you did before to remove the tire. If you find you’re fighting too hard, feel free to let a little air out of the tube by pressing in the pin in the middle of the valve.
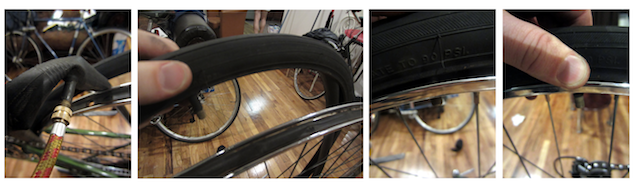
Once you’ve got the tube in the tire and the tire reinstalled in the rim of the wheel, pump it up some of the way, listen for leaks, let all of the air out again to relieve any residual stresses between the tube and tire, and, if all went well, pump it to full operating pressure, as in, they feel firm!
Well, you’ve done it: patched your own bike tube! You’ve thwarted entropy, conquered catastrophe, and turned a frown upside down! Pro tip: if you carry a patch kit, tire irons, and a portable pump around with you, you can fix a flat in place, wherever you get one, and never have to be demobilized (and demoralized) on account of rubber trouble again! And all for less than a dollar. That’s what we like to call winning, folks. That’s what we like to call winning.
Follow Isaac for more tweets about bikes at @kavunshiva
Related Articles

A genius winter cocktail: Egg Shop’s Anonymous Eggnog
Eggnog is a classic holiday staple and it’s ultra easy to whip up at home.


No gym, no problem: How to use a NYC playground as a workout center
For many of us, myself included, a gym membership or yoga subscription is a luxury we simply cannot afford. During the winter […]
Leave a Reply