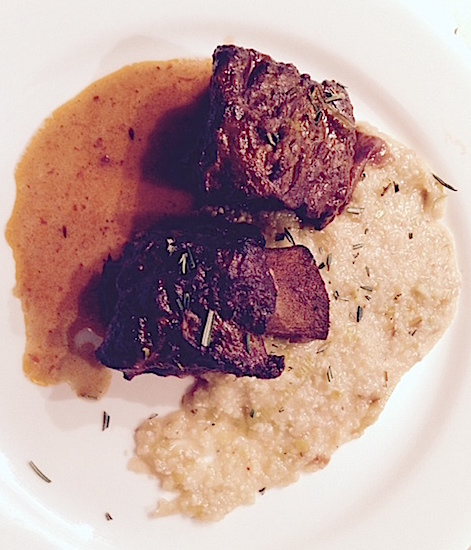
Alright, we’ve officially arrived in the post-apocalyptic nightmare winter which will undoubtedly last forever. That means that you’ll be looking to stay inside, find something that makes your home smell delicious and keeps you full, and most importantly, is cheap enough to leave you with enough money to afford your heating. That, my friends, is where braising comes in. Braising is the process of cooking something bad for a long time at a low temperature covered in liquid, and then ending up with something insanely delicious.
Braising is a fantastic technique because of two things: its versatility and its cheapness. It’s designed specifically to make the worst, cheapest things in the grocery store taste great, and it can be done with pretty much anything. In meats, the process breaks down the tough, chewy parts of cheap cuts of meat and turns them into tender, juicy awesomeness. In vegetables, it takes all of those hard winter root vegetables and makes them delicate, pillowy, and perfect to impress people with. In fact, braising anything is pretty much an ideal way to create a dish that looks and tastes amazing, but can be assembled with such ease that a small, drunk toddler could do it (and not just those toddlers on MasterChef Junior).
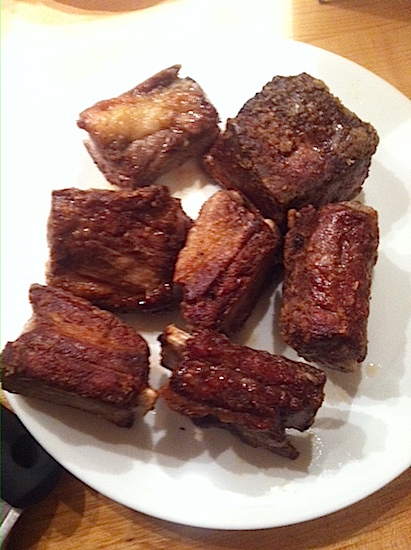
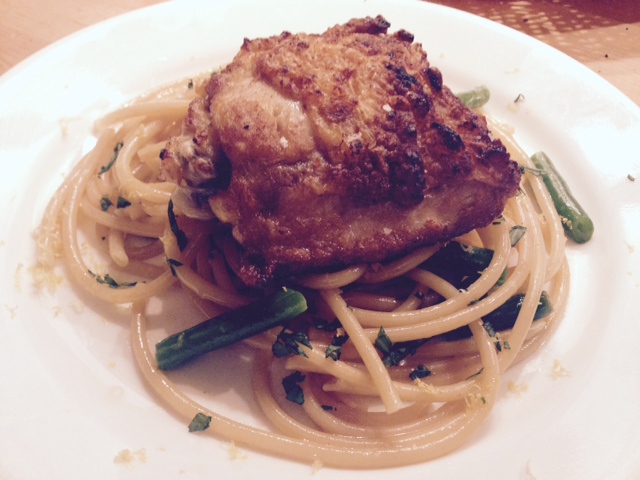
The technique is simple, and begins with choosing your braising material: anything tough or fatty is ideal when it comes to meat, and anything that can break a window is good for veggies. That means that pork belly, pork shoulder, beef short ribs, beef stew meat, chicken thighs, potatoes, turnips, celery root and much more all fall into the category of “great to throw in a pot for a long time.” If using meat, cover it with flour (and spices!), then sear it on all sides with oil, blazing hot since the insides are gonna have a lot of time to cook anyways. After your meat is seared and your veggies are cut up, you toss in anything that benefits from some sauteing (onions and garlic, carrots, celery, etc.).

After those get a few minutes, it’s time to pick your braising liquid. You can cover your ingredients in any liquid you have lying around, from beer-braised chicken to kombucha-braised turnips to even plain old water (stock would be preferred, though). Simply take whatever sips well and is sitting around, and cover up your ingredients until they’re about half-way submerged. This insures that the temperature stays constant and even, but beyond that, it’s basically the wild west, so toss in anything else you want the flavor of as well (black peppercorns, bay leaves, cinnamon sticks, you get the idea).

Now, I know what you’re thinking: “Okay, I threw a bunch of stuff in a pot, so when’s the hard part?” Well, you just did it. The next step is simply to keep it in a low oven (usually around 275 is recommended, but it can vary slightly depending on what you’re making) and forget about it from 1-3 hours. While this does mean thinking ahead to have the right amount of food ready for whoever you’re cooking for, it also means that, because the temperature is so low, the stakes are even lower. Forget about it for an extra 15 minutes? Oh well, it’s still delicious and not overcooked! Try that with a grilled cheese.

Once your time is up, you simply take the pot out of the oven, and remove your perfectly cooked braised whatevers out of their bath and enjoy. But wait, what about all of this amazing-smelling liquid left in the pan? You couldn’t throw it away, could you? That’d feel almost criminally irresponsible. So, instead, you can remove all the solids, and cook it down to a sauce for that awesome thing you just braised! That means you just made a braised dish AND a sauce and it’s the single laziest thing to do in cooking! If lazy, cheap and delicious doesn’t scream “Brokelyn” to you, then you’ve been reading the wrong website.
Leave a Reply


