Maybe you’ve seen a too much Walking Dead. Maybe you’re one of those urban preppers with a bug-out bag in the closet. Or maybe you’re sensible and actually taking precautions for the obvious impending zombie apocalypse. Either way, you’re going to need to feed your fleeing body as the hordes of the undead ungentrify Brooklyn. Stockpiling Clif bars seems necessary, but at $1.50/bar, totally bank-breaking. And you know there won’t be any left at Trader Joe’s once the looting starts. So we’ve taken a stab at making our own homemade energy bars, or what we call Caloric Living-dead Invasion Food (CLIF) bars.
We searched around for an easy, no-bake option (who’s going to have an oven in the woods of the Adirondacks?) and found a great, flexible recipe over at Hammertown, which is where we’re headed when the plague comes. Let’s see if it’s worth it. You can uh, also make them for some quick energy while you go on hikes or ride your bike.
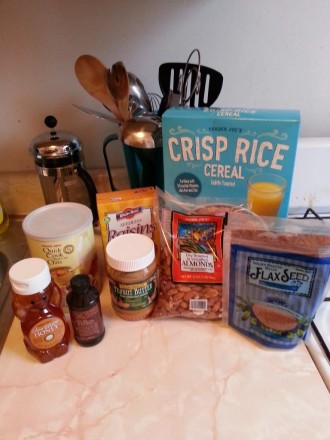
What we used (12 bars)
1 1/2 cups crispy rice cereal
1 cup uncooked steel-cut oats (less chewing = more energy for killing zombies)
3 Tbsp. ground flaxseed with blueberry (because blueberry = delicious energy for killing zombies)
1/4 cup raisins
1/4 cup dry roasted almonds
1/3 cup honey
2 Tbsp. brown sugar (essentially sweet, sweet glue)
1/3 cup peanut butter
1 teaspoon vanilla (or rum, because why the hell not?)
This recipe is essentially glorified Rice Crispy Treats, except without the marshmallow goodness. So if you’ve made them before, you’ll be familiar with the process. You’ll need a bowl, a pot, a baking dish, wax paper, and a flame.

First, mix all the dry ingredients together.

Then put the wet ingredients together in a pot on the stove (or campfire). You do have a pot, right? Only zombies should eat raw things.
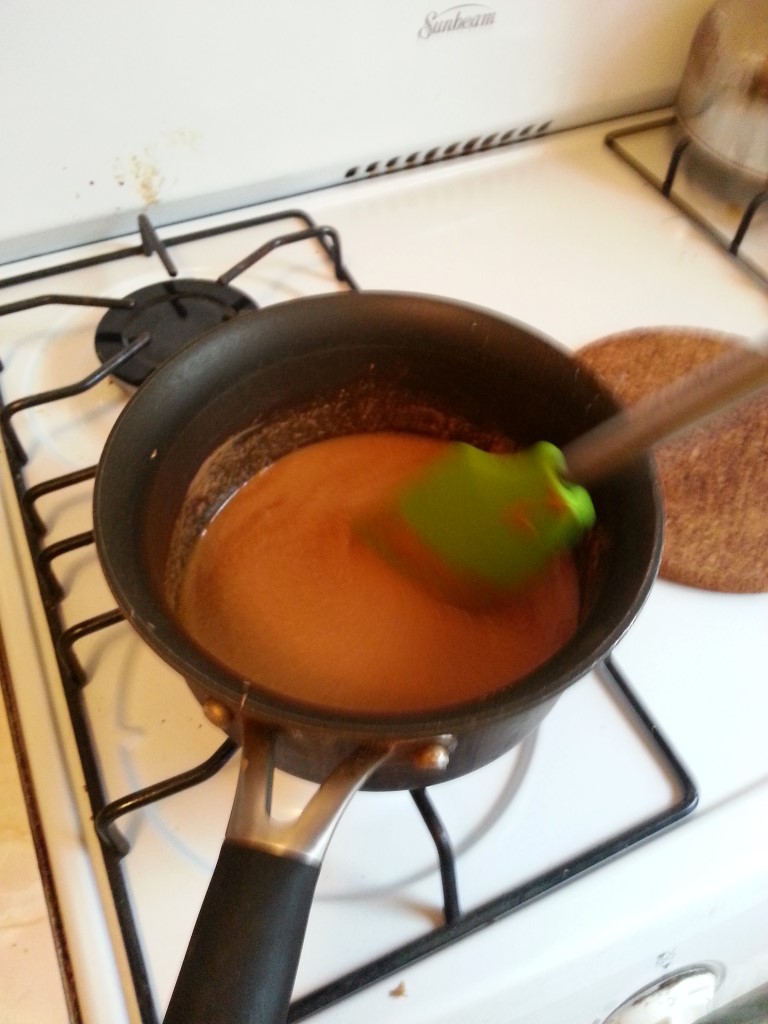
Melt the wet stuff together so it’s blended, but don’t boil it.
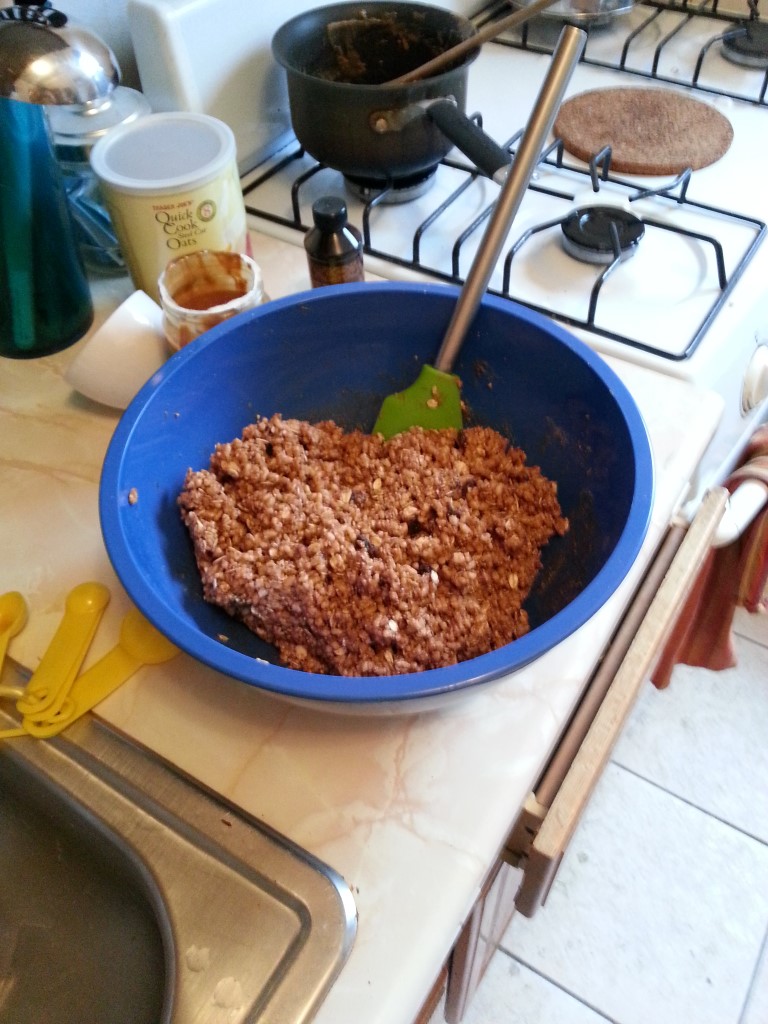
Mix all the ingredients together evenly.

Put the wet-dry stuff in a greased baking pan and spread it out evenly.
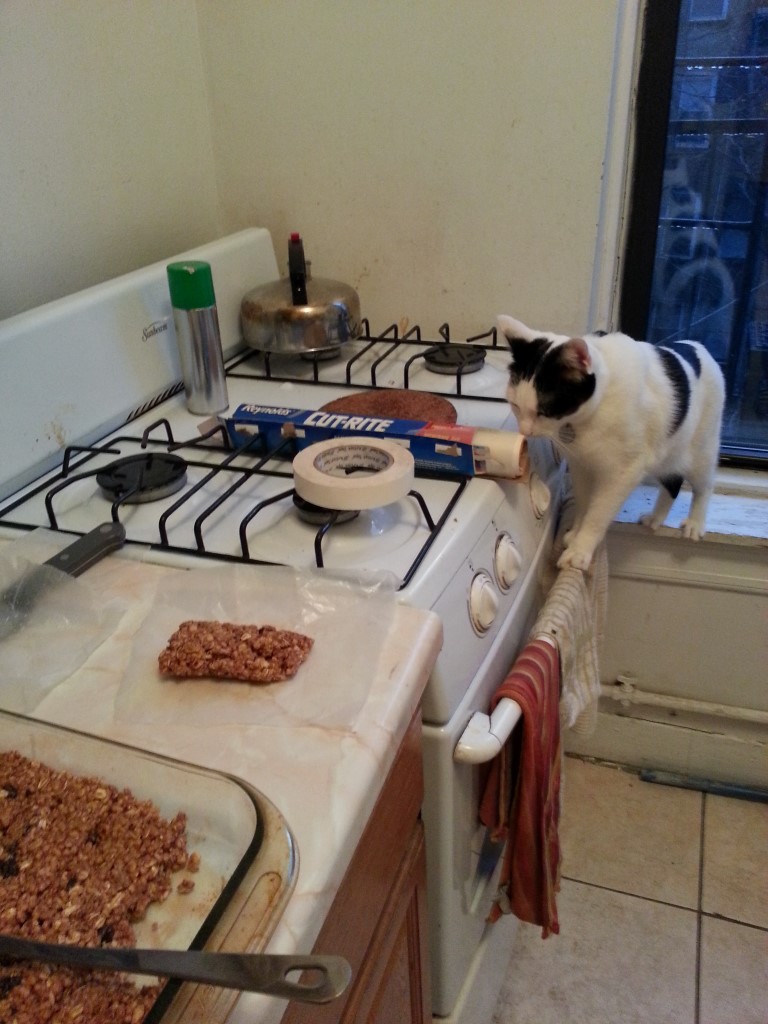
Cover and let it cool for 45 minutes. Cut the cooled mixture into any size bars you want.
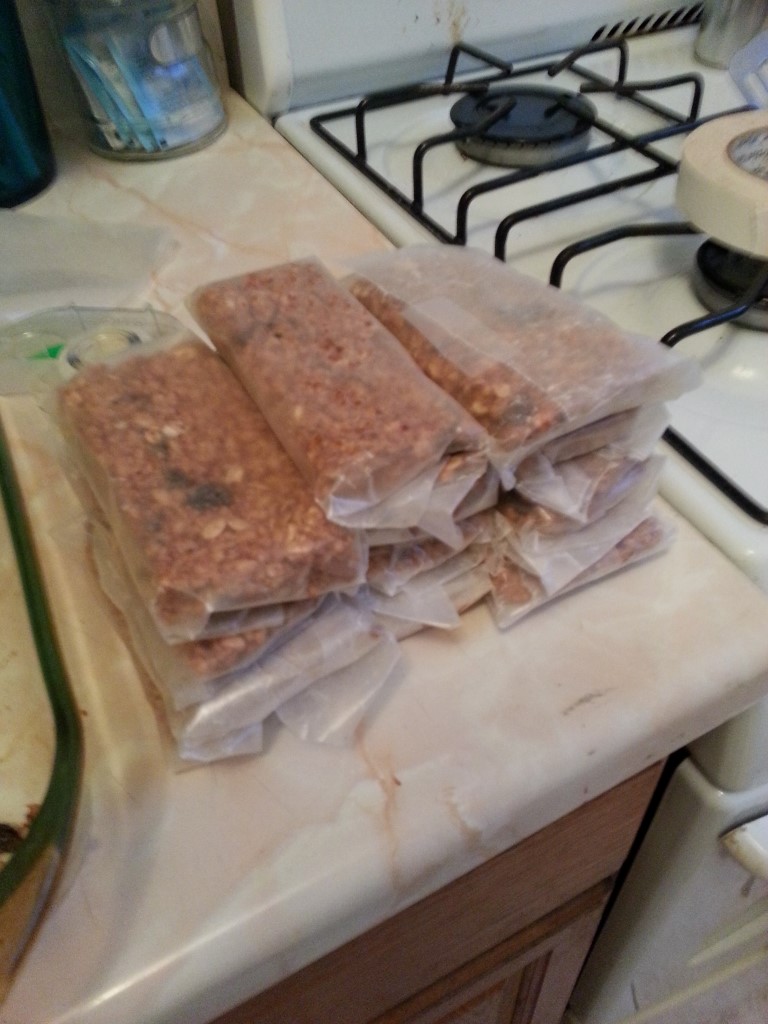
Wrap them up in wax paper and store in the freezer until the world ends.
Easy, right? Even the weakest link in your disparate band of survivors could put this together. We spent $18 on all of our ingredients (thank you, Trader Joe’s) and were able to make two batches of 12 bars, or 24 total, with some ingredients left over. How does that stack up against real-life Clif bars? Using the above ingredients, we put together this handy nutritional chart:
| Clif Bar | CLIF Bar | |
| Total Calories | 240 | 341 |
| Total Fat (g) | 5 | 13 |
| Total Sat Fat (g) | 0.5 | 2 |
| Total Sugar (g) | 22 | 30 |
| Total Protein (g) | 10 | 9 |
| Price/Bar | ~$1.50 | $0.75 |
As you can see, store-bought Clif bars are -ahem- slightly healthier than our bars but also twice as expensive. Ours tasted pretty good, too. The best part about this recipe is you can add, subtract, or substitute anything you want to improve the numbers. Switching half of the honey with a flax seed and water mixture will bring down the sugar. Using almond butter will lower the saturated fats. Or perhaps you found a dried cranberry delivery truck crashed on the side of the highway in the post-apocalyptic wasteland. The sky’s the limit to the variations. So make a few batches and stay well-fed while you run for your lives (or, you know, that half-marathon). And always remember to double-tap.
Follow Conal for more useful paranoia @conaldarcy
Related Articles
Celebrate St. Patrick’s Day with Drinks Specials & Free Food on Grand St! (Sunday, 3/17)
This SUNDAY (March 17), 13 bars along Grand Street celebrate St. Patrick’s Day with 29 drink specials and free food. This 8th edition of the Grand Street BID annual Pub Crawl makes you Sunday Funday easy – walk or stumble along just 6 blocks to eat and drink to your lucky charm’s desire. (ad)
The CBD Free-for-all Is Over for NYC Cafes and Bars
The NYC Health Department in now cracking down on cafes and bars that serve food and drinks with CBD

Whiskey Lovers Rejoice! Best of Dime Brooklyn Food & Beer Fest Features Unlimited Craft Beer and Whiskey (Sat, Jan 26th)
Whiskey Lovers Rejoice! The DIME Best of Brooklyn Food & Beer Festival just got even BETTER! Bulleit and Johnnie Walker are the […]
3 Comments
Leave a Reply
Hi, i am interested in starting a small home industry where i can make energy bars for sale.
What equipment do you advise i buy to start me off?
What ingredients should i put emphasis on to make my bars marketable? Thank you.
Kind regards,
Margaret
Halp!
I’m on my third attempt at making these and every time it has come out as peanut butter flavored granola! While this is indeed delicious, I’d really rather have it in bar form so I can take it to work and such. I have no idea what I’m doing wrong. I’ve tweaked the recipe and added more wet ingredients but it doesn’t make a bit of difference (one tweaked batch actually turned out dryer! WTF!). I’m thinking it might be the peanut butter, which is the Smuckers natural kind you have to stir and put in the fridge to keep from separating. I’d really like to keep using the natural peanut butter but its so thick, but I don’t want to keep adding honey or it will be too sweet and I’m trying to cut back on sweets! So do you have any helpful suggestions?
You add the glue last, the peanut butter and honey. Use a pan to melt the two or melt them inside the microwave.